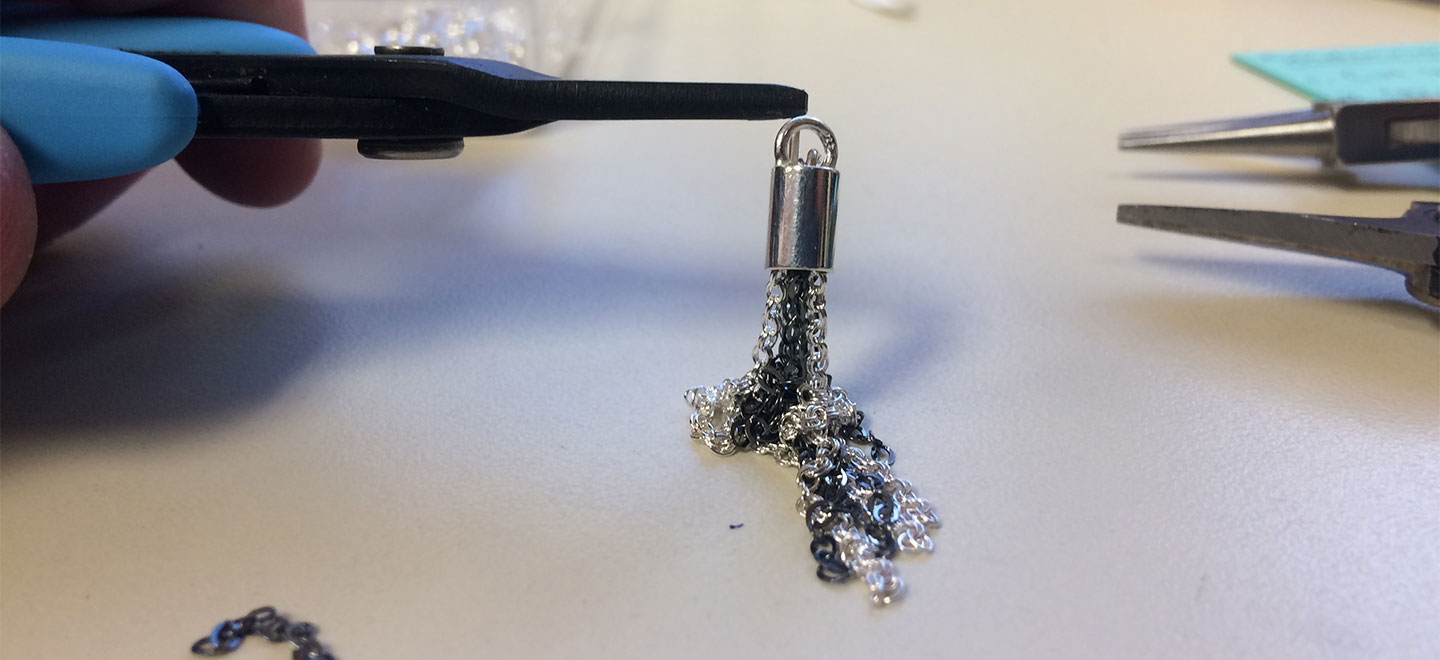
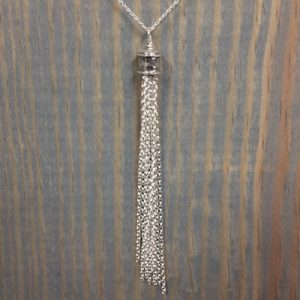
Create your own silver jewelry tassels! In this step-by-step guide, we show you how to wire-wrap or solder chain tassels for your jewelry making.
Tassels have been a hot item for a while now and, yes, you can purchase one of our many sterling silver tassels. But, sometimes it's fun to make your own! Making tassels is a great way to use up the bits and pieces of scrap you have laying around your studio. Here are two tassels that were quick to make and made from scrap footage chain.
Wire-Wrapped Tassel (assembly time 15-20 minutes)
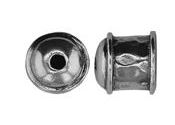 |
Although bead caps come in many different shapes and sizes, the one I chose for this project is a fairly large bullet cap. It will accommodate several pieces of small chain. |
Materials Used:
- SW20H - 2in, 20ga sterling silver wire (1)
- 21740 - 2in, 1.6mm sterling silver cable chain (9)
- 7.9x8.1mm bullet cap, 1.8mm hole ID, oxidized, hammered (1)
- 21322 - 20in, 1.2mm curb chain necklace with spring ring (1)
Step-by-step Instructions
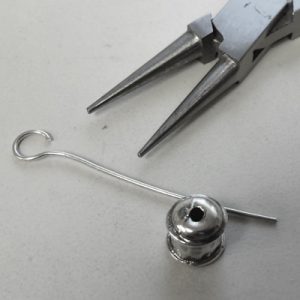 |
Step 1: The LoopChoose a gauge of silver wire that will pass through a link on your chain and fit easily through the hole on your end cap. Use round-nose pliers to make a basic loop if your wire gauge is heavy enough. Or, you may choose to use an eye pin instead of making your own. Tip: Make sure your loop can fit inside of the cap after you have created it. |
|
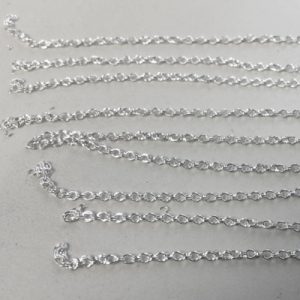
Step 2: ChainGather your silver chains. The ones I used for this piece are 2" long and the chain is a 1.6mm double cable chain. Tip: Cut your chains the same length or switch it up with varying lengths. |
|
|
|
|
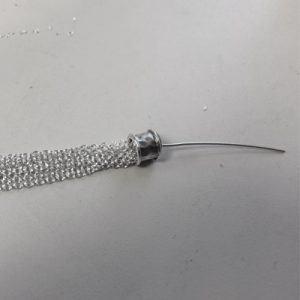
Step 3: AssemblyThread the end of each piece of chain on the loop. Close the loop and pull the wire through the bead cap hole as shown on the left. Tip: You can thread the chain through the loop from any link. That will double up on your tassels plus give you different lengths, as well. |
|
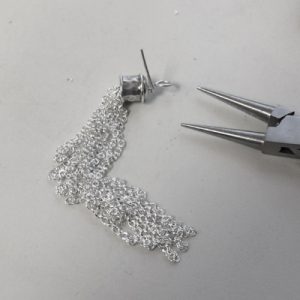
Step 4: Top LoopUse round nose pliers to create a loop at the top of the bead cap. Tip: Leave a 3mm space in the wire from the top of the bead cap to the bottom of the loop and a tail on your wire so you can wrap it in the next step. |
|
|
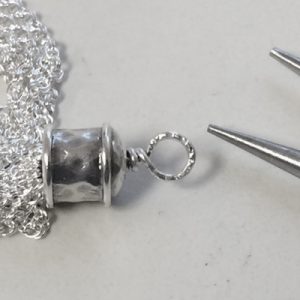 |
Step 5: Wrapping the WireFinish the loop and then tightly wrap the wire in the space between the loop and the cap. This looks great, plus, it tightens all the pieces together. Tip: I textured the loop using the round nose pliers. This is optional, of course. |
|
Step 6: FinishingUse your new tassel as a pendant, earring dangle or bracelet ornament and you're done! |
|
|
Soldering a Tassel (assembly time 30 minutes)
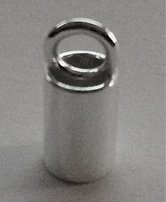 |
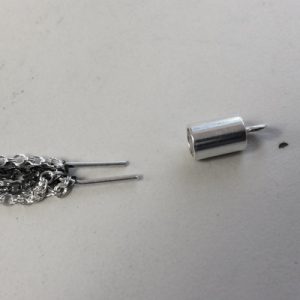
To solder the chains, I needed to figure out a way to do that because of the open tube at the top of this end cap. I went into this project thinking I could thread the chain on a jump ring and then loop that over the pre-attached ring. I began by sizing the jump ring and the tube's inner dimensions. Happy with what I found, I added the chain to the jump ring. I placed it into the tube, which wasn't easy with the jump ring open. When I was finally ready to close the jump ring over the pre-attached ring on the top of the end cap, there wasn't any room for the flat nose pliers to do their job. Back to the drawing board! I thought it out carefully and decided the best way was to create a u-shaped wire and solder it that way. |
Materials Used:
- 1in, 20ga sterling silver wire (1)
- 5.2x11.2mm sterling silver end cap (1)
- 3in, 1.6mm sterling silver double cable chain (4)
- 3in, 1.5mm flat cable chain, dark oxidized finish (4)
Step-by-step Instructions
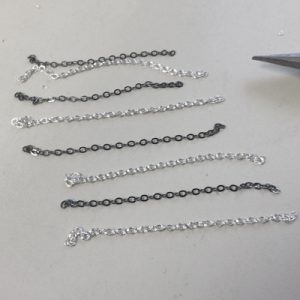 |
Step 1: TasselsCut your chain into 3" pieces using your wire cutters. I chose oxidized and brite finishes for this piece. Tip: Use chain links that will fit through the wire in the next step. |
|
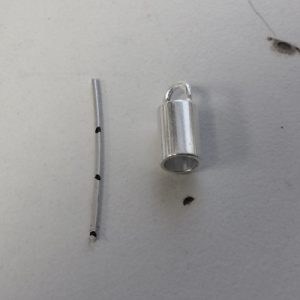
Step 2: Preparing the LoopCut a piece of wire 1 1/4" long. You will bend this wire in half to create a u-shape, so use a permanent marker to mark the wire where the bend will be located. Tip: Make sure the u-shaped wire can slide up into the bottom of the end cap. |
 |
|
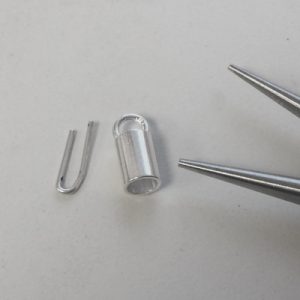 |
Step 3: Creating the LoopUse round nose pliers to bend the wire into a u-shape for your loop. Tip: Don't create a loop yet. Leave the u-shape open at the top. The loop will be created in step 6. |
|
Step 4: ChainsThread the end of the chain pieces onto the u-shaped wire. Tip: Keep a close eye on the number of chains that you use. Check often to make sure they still fit inside the tube on the end cap. |
|
|
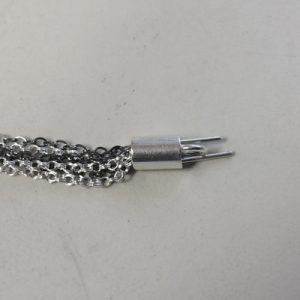 |
Step 5: AssemblyRun the wire up through the bottom of the end cap. The two ends of the wire should now stick out at the top, on either side of the ring. Tip: I kept the u-shaped wire long so that I could better manipulate it while shaping it. You can always trim long wires but you can't add to short ones! |
|
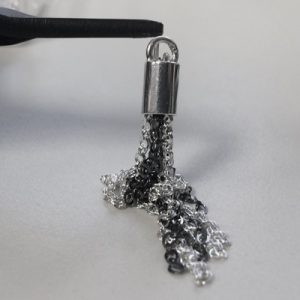
Step 6: Creating the LoopThe end cap I am working with has a ring on the top of it. I want to have the ring that I am making, loop over that ring to hold the tassels in place. Use narrow flat nose pliers to grip one end of the u-shaped wire. Use wire cutters in your other hand to snip the opposite wire down about 8mm. Take round nose pliers and put a loop at the end of the cut wire. Use the flat nose pliers to hang onto the ring while you repeat these steps with the other end of the u-shaped wire. You should now have your ring wrapped around the end caps ring. Tip: Make sure that you've created a well-made ring with the ends tightly together. |
 |
|
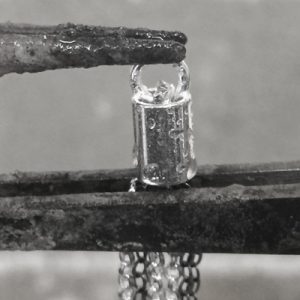 |
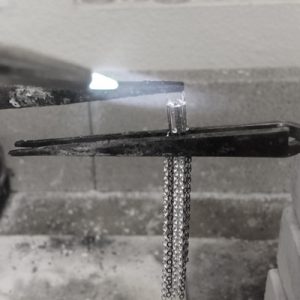
Step 7: Preparing to SolderUse one third-hand to hold the bottom of the end cap and another third hand to hold the ring on top. The steel will draw a lot of the heat away from the piece which will protect the chain at the bottom and the ring at the top. Tip: If you're new to soldering, read our blog Five Steps to Start Silver Soldering for tips and help. |
|
Step 8: SolderingFlux then add one piece of silver solder on the top of the ring you created. Heat up your piece until the solder flows then pickle, quench and dry. Tip: Use the smallest torch tip or flame that you can, you want to keep the chain cool by only heating between the third hands. |
 |
|
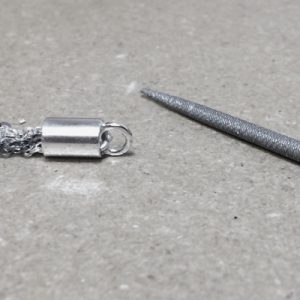 |
Step 9: Filing and SandingUse needle-nose files and sandpaper to clean any extra solder off of your tassel Tip: It is dangerous to use a buffing wheel or rotary tool on loose chain ends. Hand polish your tassel as needed. |
|
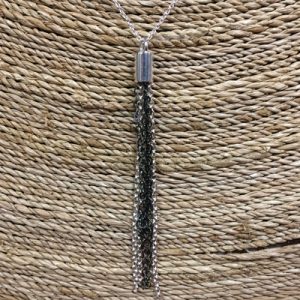
Step 10: FinishingTassels also look great at the back of necklaces. What's your favorite use of the tassel trend? |
 |
|
Shop at Halstead for other great jewelry findings!
Got questions? Email our studio coordinator at [email protected]. We’d love to hear from you. Sorry, studio support is not available by phone. Emails only, please.


