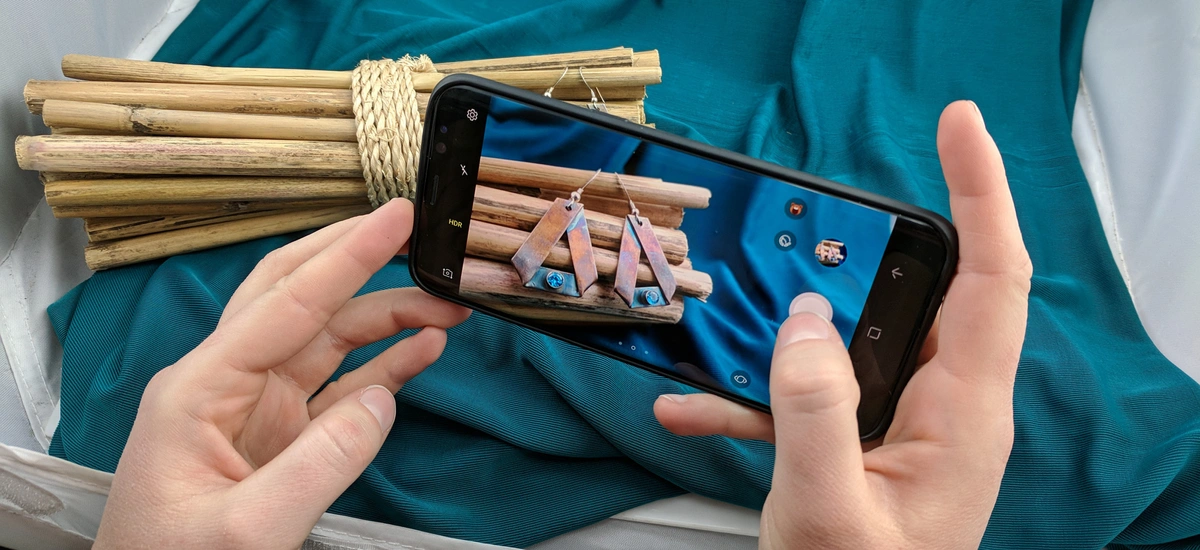
Here are some tips and tricks on how to take your jewelry photography to the next level with your smartphone camera.
Great product photos are required in today's age of online stores and social media. But, trying to capture your jewelry in flattering images can be difficult. Thankfully phone cameras can now take amazing photos. It is no longer necessary to invest in a DSLR as one of your first business purchases; however, you may still want to plan for that step down the road. Here are some steps you can take to improve the quality of your photography with minimal equipment- and draw in more customers!
Follow up by watching the webinar: Jewelry Photography with your Smartphone
Getting Started
In the camera settings, set your camera to save the largest possible files. Some Androids allow the user to enter a full manual mode, which allows you to turn your phone into a full blown camera. In iPhones be sure to choose Most Compatible, not High Efficiency. iPhones now also have Apple ProRAW if you want to shoot in RAW format - keep in mind these will be very large files.
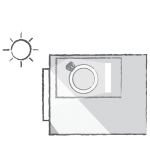
Never use your phone's flash! When you use the flash on the camera it flattens out the piece. Have you ever seen restaurant photos of food that looks dull and lifeless? Odds are they were taken with a front flash. Amazing jewelry (and food) photography always has side lighting - this gives the piece more life and depth.
Also, never use your phone's zoom feature. Zooming to take the picture will cause pixelation or other unwanted distortions. Crop the image while editing afterward or step in closer to the jewelry piece
Prep Your Jewelry

Tip: If you do decide to use props, go with a theme. The theme can be based on the brand, the jewelry collection, or could be seasonal. A theme helps make your marketing more visually appealing and helps customers associate the images to your brand.
Setting up Lighting
A lightbox is always your best friend, but in the event that you do not have one here are some lighting basics:
Outdoor shoots in the shade generally work best. You'll get a nice natural light without the glare and sharp contrast of direct sunlight.
Another way is to set up the shoot by a window out of direct sunlight. Use a lamp, white sheet/paper, or foil opposite of the window to bounce light back onto the piece.
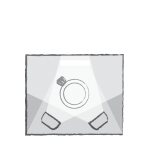
The third way is to use at least two lamps/light boxes (make sure they both have the same type of lightbulb). Best placement for the light sources is at the 4 o'clock and 8 o'clock positions around the piece. A third, softer light source can be set up directly behind the piece (another lamp or reflector works fine).
Tip: If you are getting harsh black shadows on your piece, set up a white sheet or piece of aluminum to reflect light in the area that is creating the shadow.
Taking Clear Shots
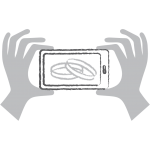
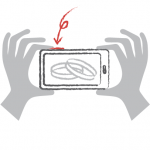
A phone tripod is the best solution. Simple phone tripods are readily available for $10-$15. If you don't have one, the best way to stabilize your phone is to use both hands and brace your elbows against your stomach or on a hard surface.
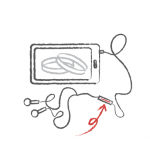
iPhone users can use Apple's corded headphones as a remote shutter release - just tap the volume controls to take the shot. Bluetooth shutter releases are also available for as low as $5-$10.
On Androids, you can also use the volume control on the phone as a shutter control. Do not use your thumb, your pointer finger will probably work best.
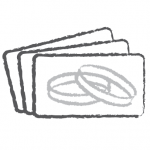
Use the burst mode - your phone will take multiple shots at once. This way you can choose the best photo from the bunch.
Tip: Do a couple of test shots and review before moving forward. Zoom in on the pictures in editing mode to see if you need to make any adjustments to the setup or the lighting. If you have one, look at the photos on a computer or tablet, the larger screen will help you to detect any issues with the photos.
End Game
Review all of your shots and select the best ones. Make a new folder dedicated to the shoot and move the photos to it. Zoom in again on each to double check for flaws.
Once you have the chosen few images selected, you can edit the photos. Most phones have basic editing software, but if you want to get more in depth, you can check out third party apps. The most important edits are cropping, exposure, and color correction. Another helpful tool is the healing brush. This allows you to edit out things like hairs, smudges, dirt, and reflections. We have a great article that teaches you how to do basic editing an clipping of jewelry photos.
Going Further
There are many other things you can do to improve your photography.
- Watch videos on phone photography - they don't have to be dedicated to jewelry photography, many can give you great tips on the features of your phone, composition, lighting, and more.
- Find editing tutorials. You can take great shots but if you want them to be amazing you usually need to edit them. Apps generally have videos and tips on how to use them, but any tutorial on how to do basic editing will be a great help.
- Read up on your phone's features - there are many differences in taking photos not just between brands (such as Apple and Samsung) but between the models too.
- Look into photography and editing apps. There are many great free ones, but even $2.99 is a small price to pay for greater control and more functions. Just make sure to do your research before you buy - some even have free options where you can try out the app first.
- Get inspired. Cut out ads from magazines, look through jewelry tags on Instagram, create Pinterest boards. Study these photos - why are you drawn to them? What do you like about them? Does the style go with your jewelry collection?
- Finally - take photos! Experiment with styles and lighting, have fun with it! The more you practice the better you'll get.
Watch Janelle's Webinar
Useful Apps
Photography
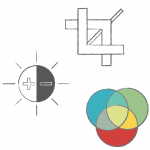
Photographing in what's called a pro mode allows you to shoot photos on your phone as if you were shooting on a DSLR. Pro Mode lets you adjust the ISO, aperture, shutter speed, and white balance. Being able to manually adjust these settings is useful for doing large photoshoots that use the same setup so that your photos all turn out similar. Doing so will allow you to create editing presets that you can mass apply to the photos, greatly reducing your post processing time.
If your phone doesn't come with a pro mode, you can download an app that gives you all the options. Here's a few suggestions to check out.
- Halide - Free
- Obscura 2 - $4.99
- ProCamera - $13.99
- Open Camera - Free
Editing
There are tons of apps available that make editing your jewelry photos on your smartphone a breeze now. Below are some option you can look at, you may need to try a couple to see what works best for you and has the features you need.
- Snapseed
- Lightroom
- Adobe Photoshop Express
- VSCO
We also have a couple of videos that show how we photograph our jewelry supplies and the equipment that we use in the Halstead photo studio: Jewelry Photography Tripods: Essential Equipment for Professional Images and Photo Studio Tips.
Read More About Photographing Your Jewelry
How to Photograph Jewelry on a White Background


